

When your hardwood floors begin to look worn, refinishing can help restore their appearance without replacing the entire floor. If you are considering this type of project, understanding the process can help you plan your schedule, prepare your rooms, and know what to expect. With professional hardwood floor refinishing services from Dilley’s Wood Flooring, you can give your existing floors a refreshed appearance while preserving the character of your home.
The total time required for refinishing depends on several factors, including the size of the area, the condition of the wood, the type of finish, and the number of coats needed. Some projects may be completed relatively quickly, while larger or more detailed spaces can require additional time. Your flooring professional can provide a more accurate schedule after evaluating your floors.
Preparing the Room
Before work begins, you will need to prepare the space. This usually involves removing furniture, clearing personal belongings, and making sure the flooring is accessible. You may also need to plan how you will use nearby rooms while the project is underway. Proper preparation helps the work progress more smoothly and reduces the risk of delays.
Inspecting and Repairing the Hardwood
Once the room is ready, the flooring can be inspected for loose boards, damaged areas, deep scratches, or other concerns. Minor repairs may need to be completed before sanding begins. If your floor has significant wear or damage, these additional steps can affect the overall project timeline. Addressing problems early helps create a more consistent final result.
Sanding Away the Old Finish
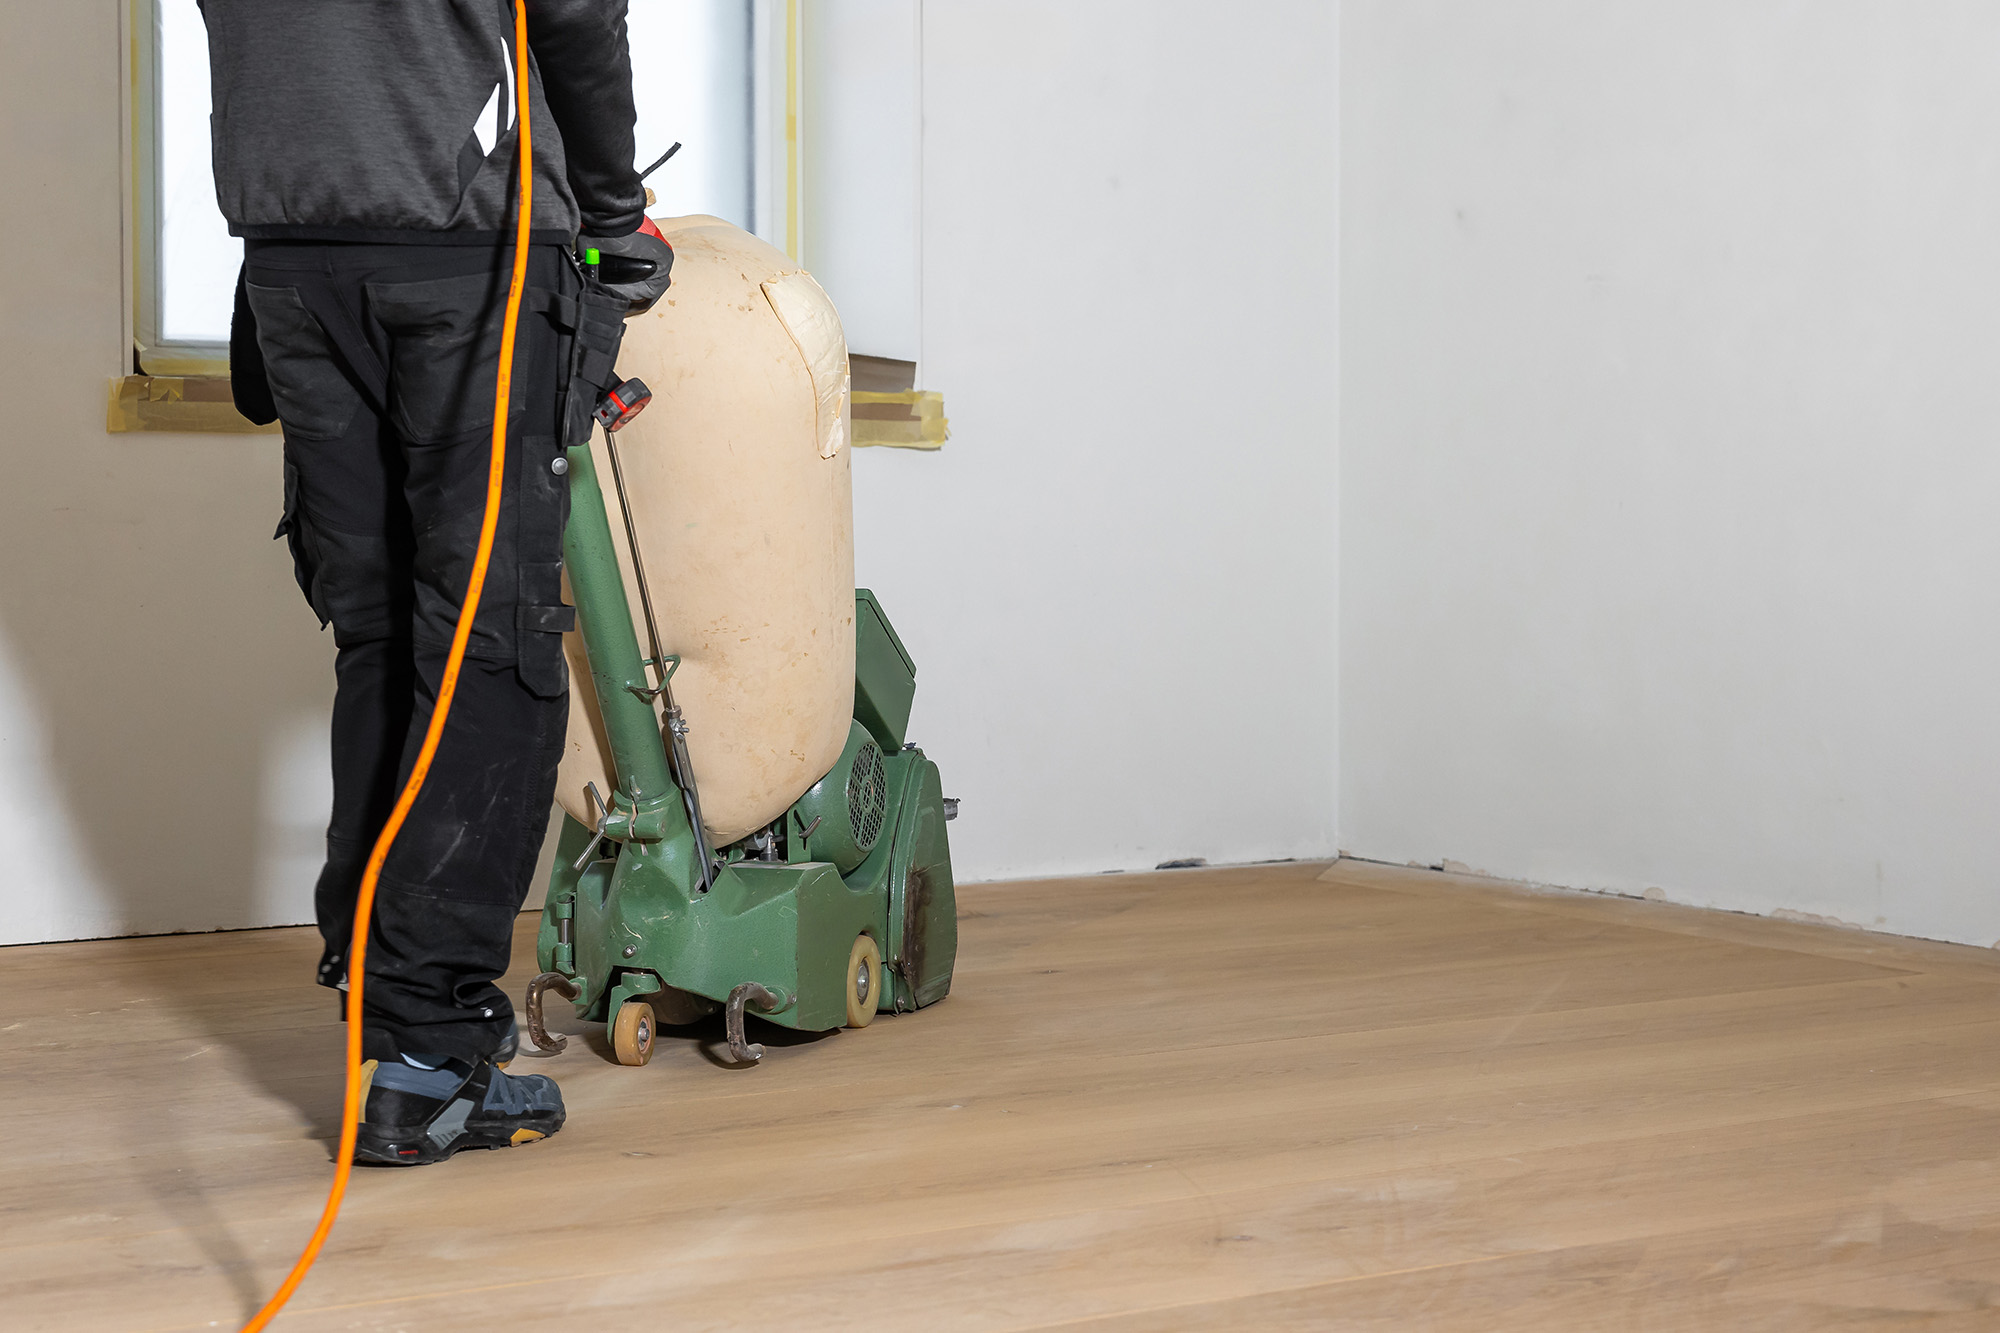
Sanding removes the existing finish and helps prepare the wood for a new surface treatment. The number of sanding stages depends on the condition of your flooring and the finish being removed. This part of the process can create dust and noise, so you should expect the room to remain unavailable while the work is taking place.
Applying the Stain or Finish
After sanding, you may choose to keep the natural color of the wood or apply a stain to create a different appearance. Once the color is selected, the appropriate finish is applied. Depending on the product, your floor may require more than one coat. Each coat needs suitable drying time before the next step can begin.
Allowing Time for Drying and Curing
Drying and curing are important parts of the refinishing process. A floor may feel dry to the touch before the finish has fully hardened. You may need to avoid walking on the surface, replacing furniture, or placing rugs for a specific period. Your flooring professional should explain when light foot traffic, furniture, and normal room use can safely resume.
Planning Around Your Daily Routine
Because refinishing temporarily limits access to a room, it helps to plan the project around your household routine. You may want to refinish one area at a time or arrange alternative spaces for sleeping, working, dining, or relaxing. Planning ahead can make the temporary disruption easier to manage, especially when you are refinishing several rooms.
Enjoying a Renewed Hardwood Floor
Although the exact schedule varies, a well planned refinishing project can give your hardwood floors a renewed appearance and help you enjoy your existing flooring for longer. By understanding each stage, you can make practical arrangements and avoid rushing the drying or curing process.
If you are considering refinishing your hardwood floors in Southbury or another Connecticut community, contact Dilley’s Wood Flooring to discuss your flooring needs and learn more about the process.


